Instructions for installing WordPress on localhost

Oct
Instructions for installing WordPress on localhost using Xampp
In the previous article, we learned how to install localhost on a computer with Xampp. In this article, I will guide you how to install WordPress on this locahost.
After completing the localhost installation, we can start installing WordPress on it to create a website on our computer.
Before proceeding with the installation, create a new folder in the C:xampphtdocs folder for easy management. If you want, you can also add a virtual domain name to this folder.
Steps to install WordPress on localhost using Xampp
Step 1. Download the latest WordPress source code from the WordPress.org website
First, you need to download the latest version of the WordPress source code at https://wordpress.org/latest.zip.
After downloading, you need to unzip it to get the wordpress folder. Usually this folder will be nested in another folder named wordpress-x (x is the version number), but we just need to go to the wordpress folder to continue.
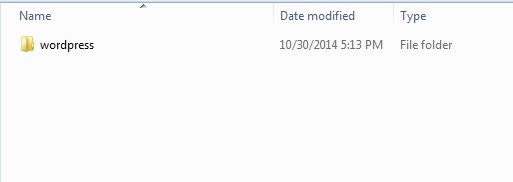
Folder after extracting the source code.
Next, go to the wordpress folder and you will see the folders wp-admin, wp-includes, wp-content and the files index.php, wp-config-sample.php,… All these files and folders are the source code of WordPress.
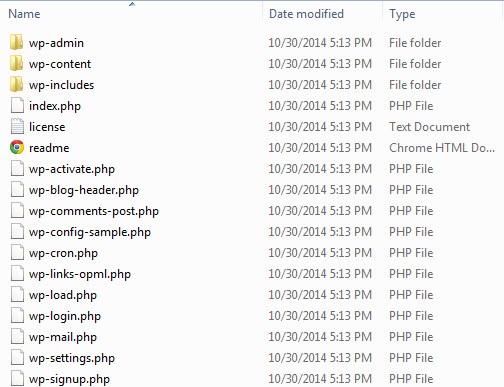
WordPress source code files and folders.
Step 2. Copy the WordPress source code to Localhost
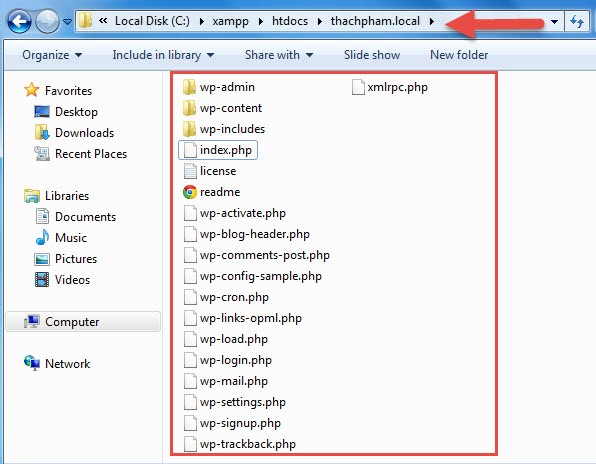
Copy all these files and folders to your website folder on your local computer (localhost) (for example: C:xampphttpdocswebkhoinghiep). It is important to only copy the source code files and folders, not the whole wordpress folder because we will install WordPress on the domain name http://localhost/webkhoinghiep. If you copy the entire wordpress folder, the website’s path will become http://localhost/webkhoinghiep/wordpress/.
Step 3. Create a new database
Instructions for installing WordPress on localhost using Xampp
In the previous article, we learned how to install localhost on a computer with Xampp. In this article, I will guide you how to install WordPress on this locahost.
After completing the localhost installation, we can start installing WordPress on it to create a website on our computer.
Before proceeding with the installation, create a new folder in the C:xampphtdocs folder for easy management. If you want, you can also add a virtual domain name to this folder.
Steps to install WordPress on localhost using Xampp
Step 1. Download the latest WordPress source code from the WordPress.org website
First, you need to download the latest version of the WordPress source code at https://wordpress.org/latest.zip.
After downloading, you need to unzip it to get the wordpress folder. Usually this folder will be nested in another folder named wordpress-x (x is the version number), but we just need to go to the wordpress folder to continue.
Folder after extracting the source code.
Next, go to the wordpress folder and you will see the folders wp-admin, wp-includes, wp-content and the files index.php, wp-config-sample.php,… All these files and folders are the source code of WordPress.
WordPress source code files and folders.
Step 2. Copy the WordPress source code to Localhost
Copy all these files and folders to your website folder on your local computer (localhost) (for example: C:xampphttpdocswebkhoinghiep). It is important to only copy the source code files and folders, not the whole wordpress folder because we will install WordPress on the domain name http://localhost/webkhoinghiep. If you copy the entire wordpress folder, the website’s path will become http://localhost/webkhoinghiep/wordpress/.
Step 3. Create a new database
To install WordPress on localhost, you need a MySQL database to store important information such as posts and website configuration.
First, go to the path: http://localhost/phpmyadmin/ . Next, click the New button, and enter the name of the database you want to create.
Step 4. Run the website to install
After completing the copy, open the XAMPP control panel and start Apache and MySQL. Next, access the website with the path http://localhost/webkhoinghiep.
When the website appears, you will see a table to choose the language for the WordPress installation. Choose English and click Continue.
Select the language during the WordPress installation process.
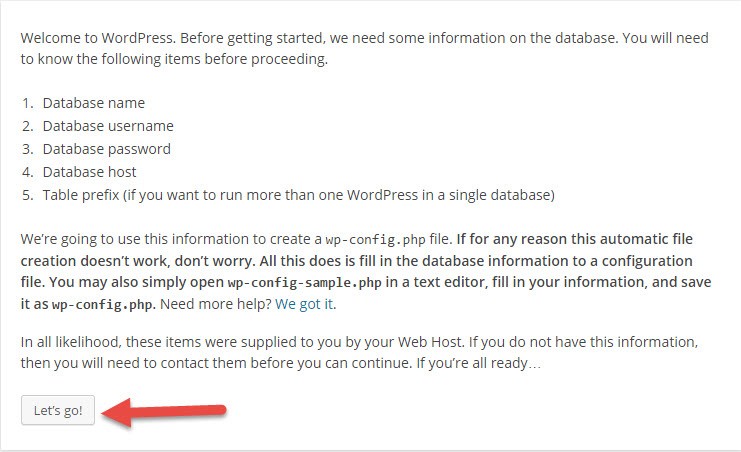
In the next step, you will be prompted to rename the wp-config-sample.php file to wp-config.php and enter the database information. Click Lets Go to do this.
Next, you will need to enter the database information.
Remember that when installing wordpress on localhost, the database User Name is always root, the password is blank (can be set but not required) and the Database Host is always localhost. You just need to enter the Database name, which is the name of the database you created in step 3.
Table Prefix is the prefix of the tables that contain WordPress data, the default is wp_, you can change it to anything but it must have _ at the end.
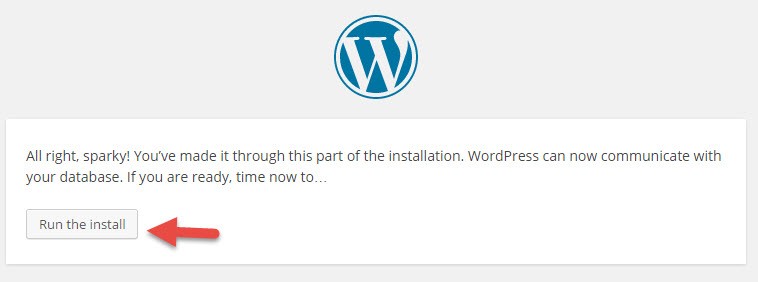
After entering the database information, click the Submit button to continue. If it displays as shown below, it means you have entered the correct database information, click Run the install to start the installation process.
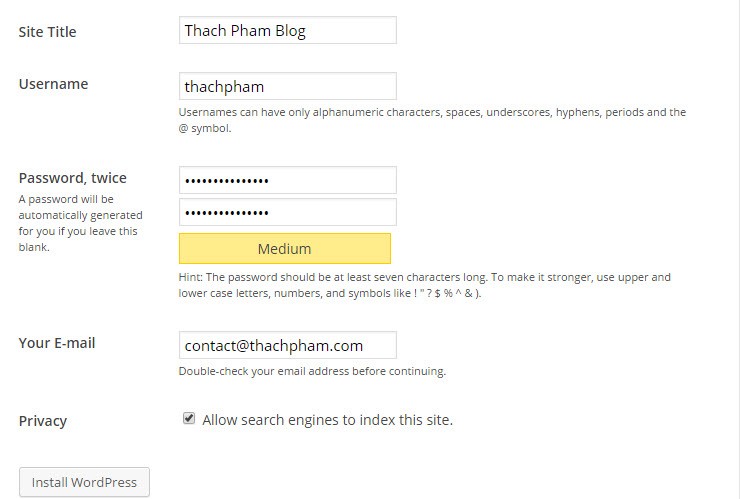
In this installation step, you will need to set up important information for the website such as Website name, admin account name and password, etc. After entering, click the Install WordPress button.
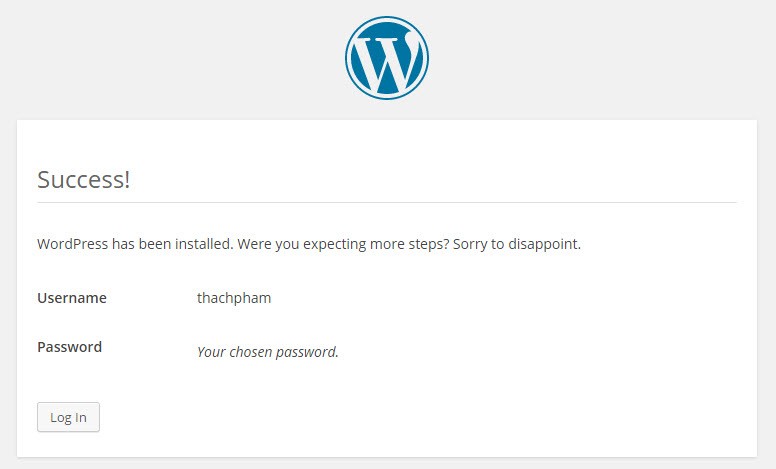
If the word Success! is displayed as shown below, it means you have successfully installed. Click the Log in button to log in to the WordPress admin panel.
This is the WordPress admin page interface.
WordPress admin page after installation.
In addition, if you want to access the WordPress website homepage, you can add /wp-admin to the path http://localhost/webkhoinghiep/wp-admin.
See more:
How to install WordPress on localhost
Count website visits professionally with WP Statistics
10 common errors when using WordPress
How to localize WordPress themes and plugins with Loco Translate plugin
How to update WordPress manually without losing data, most safely
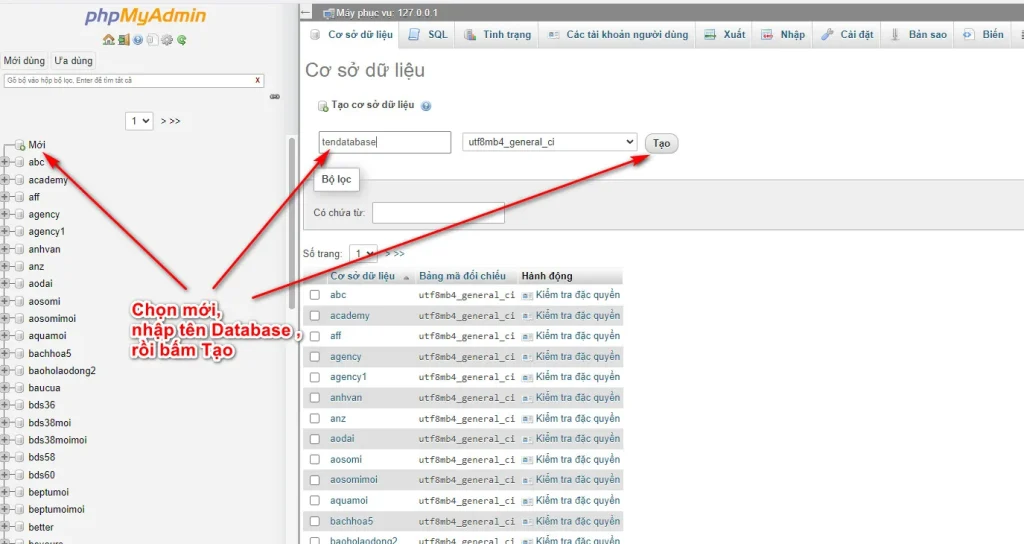
First, go to the path: http://localhost/phpmyadmin/ . Next, click the New button, and enter the name of the database you want to create.
Step 4. Run the website to install
After completing the copy, open the XAMPP control panel and start Apache and MySQL. Next, access the website with the path http://localhost/webkhoinghiep.
When the website appears, you will see a table to choose the language for the WordPress installation. Choose English and click Continue.
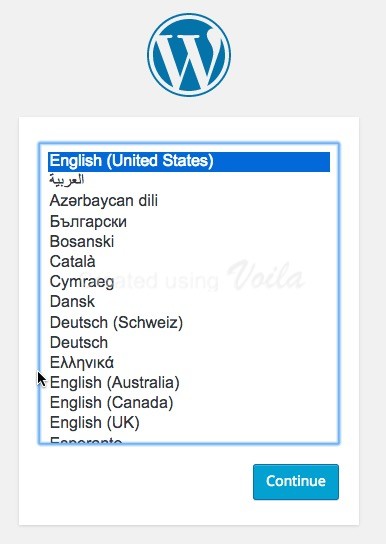
Select the language during the WordPress installation process.
In the next step, you will be prompted to rename the wp-config-sample.php file to wp-config.php and enter the database information. Click Lets Go to do this.
Next, you will need to enter the database information.

Remember that when installing wordpress on localhost, the database User Name is always root, the password is blank (can be set but not required) and the Database Host is always localhost. You just need to enter the Database name, which is the name of the database you created in step 3.
Table Prefix is the prefix of the tables that contain WordPress data, the default is wp_, you can change it to anything but it must have _ at the end.
After entering the database information, click the Submit button to continue. If it displays as shown below, it means you have entered the correct database information, click Run the install to start the installation process.
In this installation step, you will need to set up important information for the website such as Website name, admin account name and password, etc. After entering, click the Install WordPress button.
If the word Success! is displayed as shown below, it means you have successfully installed. Click the Log in button to log in to the WordPress admin panel.
This is the WordPress admin page interface.
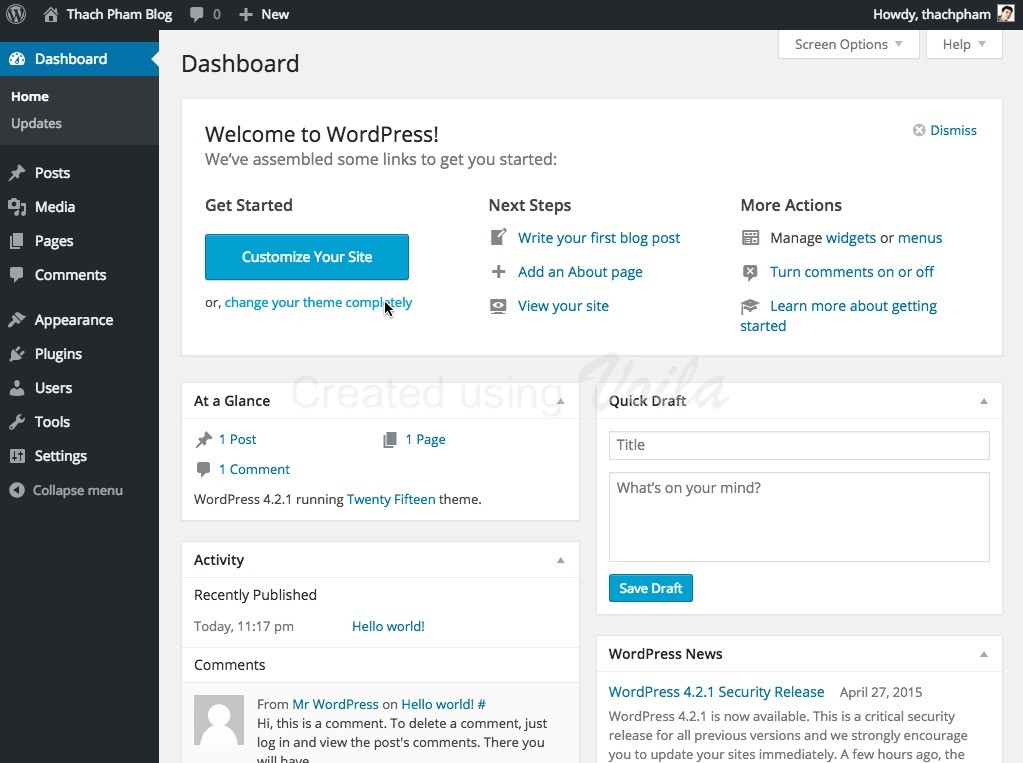
WordPress admin page after installation.
In addition, if you want to access the WordPress website homepage, you can add /wp-admin to the path http://localhost/webkhoinghiep/wp-admin.
See more:
- How to install WordPress on localhost
- Count website visits professionally with WP Statistics
- 10 common errors when using WordPress
- How to localize WordPress themes and plugins with Loco Translate plugin
- How to update WordPress manually without losing data, most safely